Back in 2016 I removed the elevating roof from my project Carawagon, so as to allow its temporary storage in a rather small garage. The write-up I posted about the procedure on another forum was noted as potentially useful by a few people, and I promised Robin I'd put a similar one up here on LRCC. I've been failing to get around to it ever since! What difference do 5½ years make anyway? Questions about roof removal still come up (in Facebook groups, etc.) from time to time, so with a bit of luck, a general search may point them in the direction of this forum and thread.
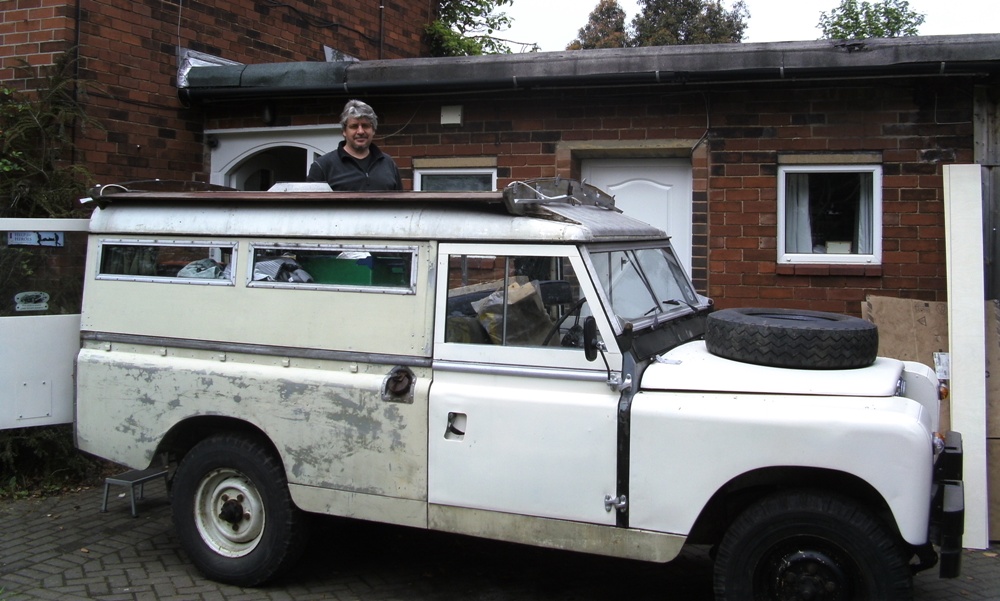
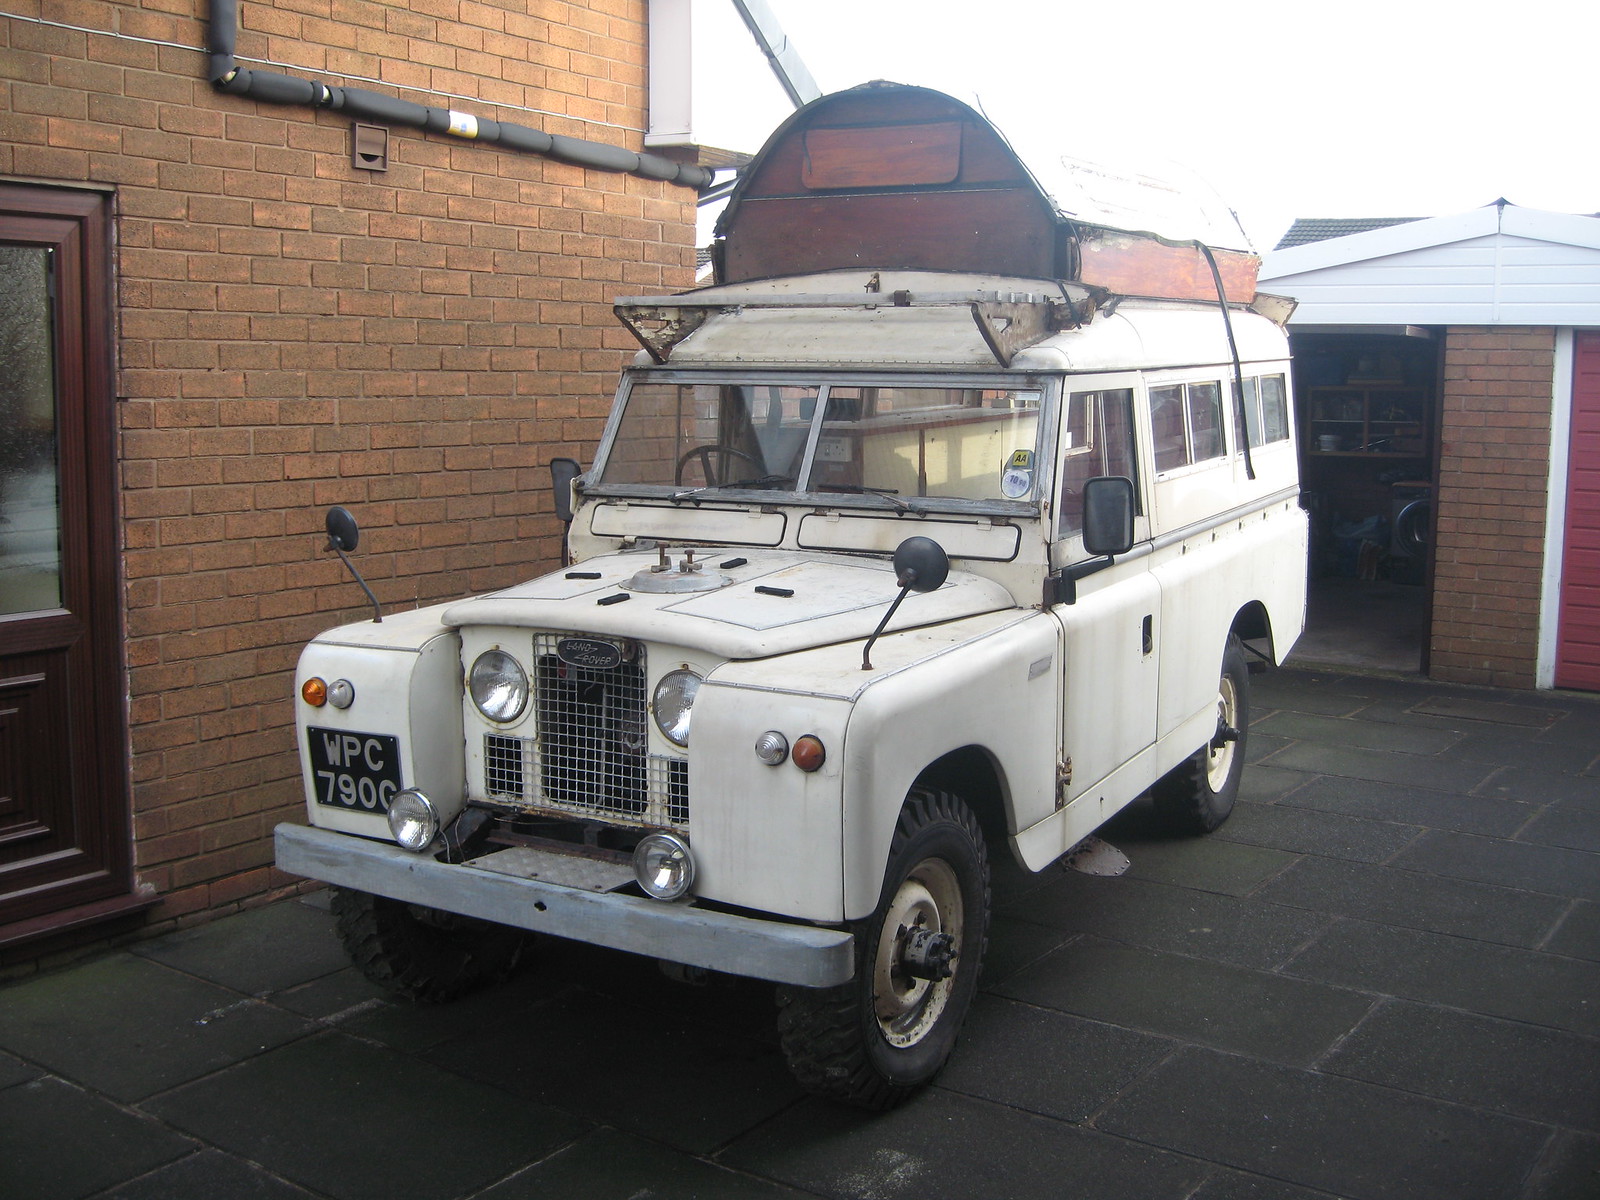
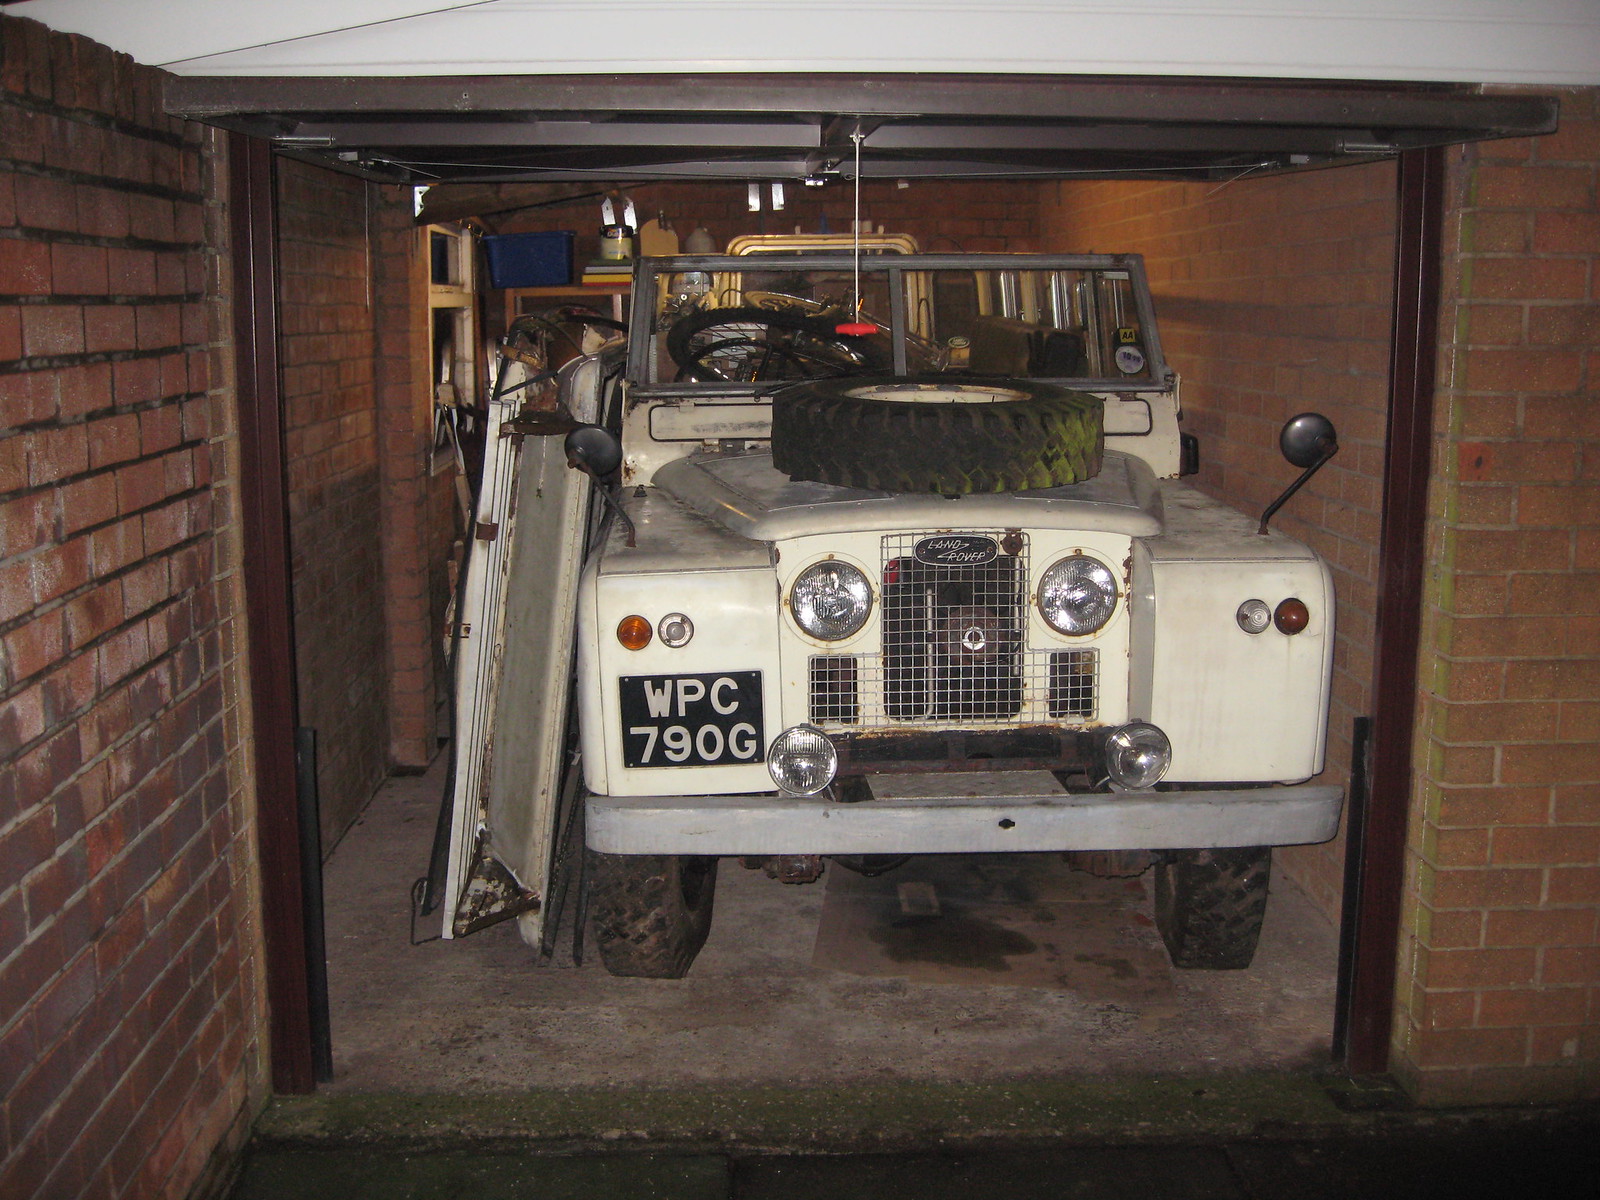
Here's the vehicle in question: a 1968 Series IIA 109" Carawagon with roof in rather poor state:
This vehicle has quite an array of aftermarket wiring, lighting etc. fitted inside. None of it is original or standard, so while I did have to disconnect a lot of it to remove the roof, those steps will be irrelevant to other Carawagons and so are omitted from this post.
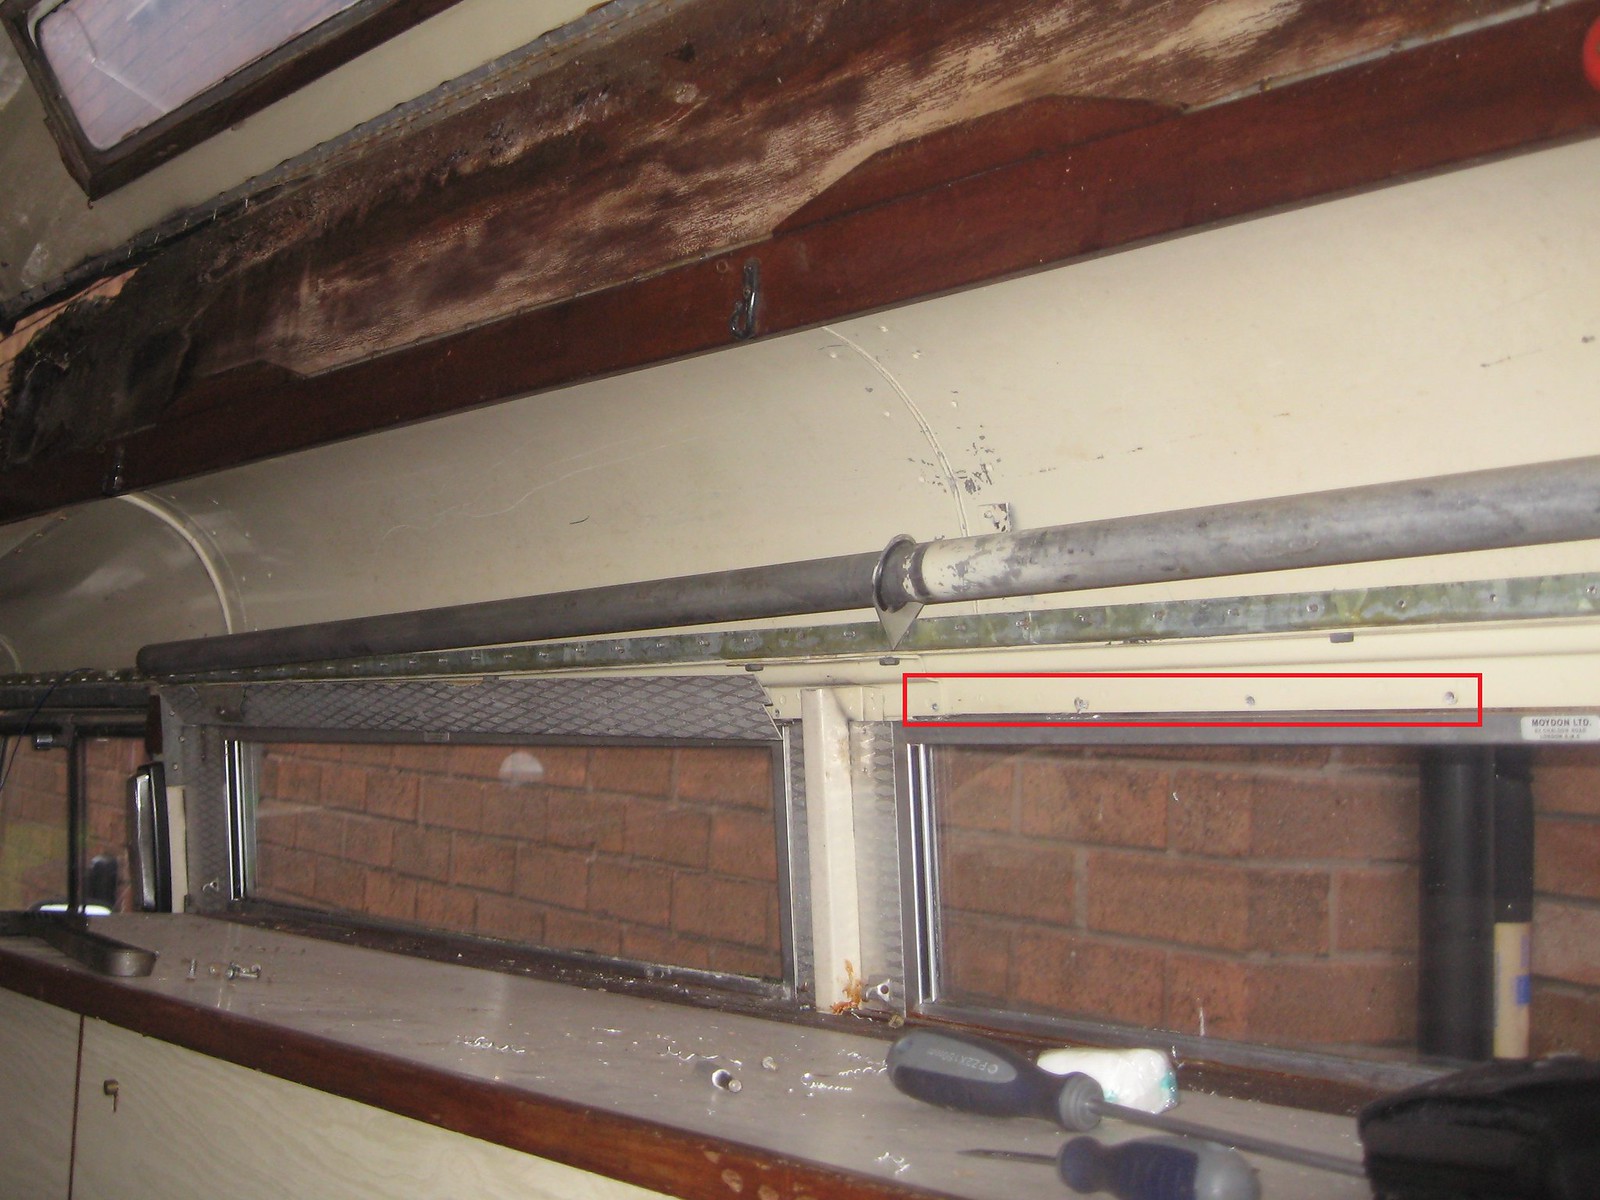
Most of the questions relating to Carawagon roof removal concern the aluminium trim fitted above the rear side windows, as it blocks access to the roof fixing bolts and has no obvious fixings of its own:

Before dealing with the trim, however, the first step is to remove the 'paraphernalia pockets' and roof beds. These are clamped in place by an aluminium strip riveted to the steel 'gutter' of the standard Land-Rover roof. I tapped the heads off the rivets, but with hindsight it may have been neater to drill them out:
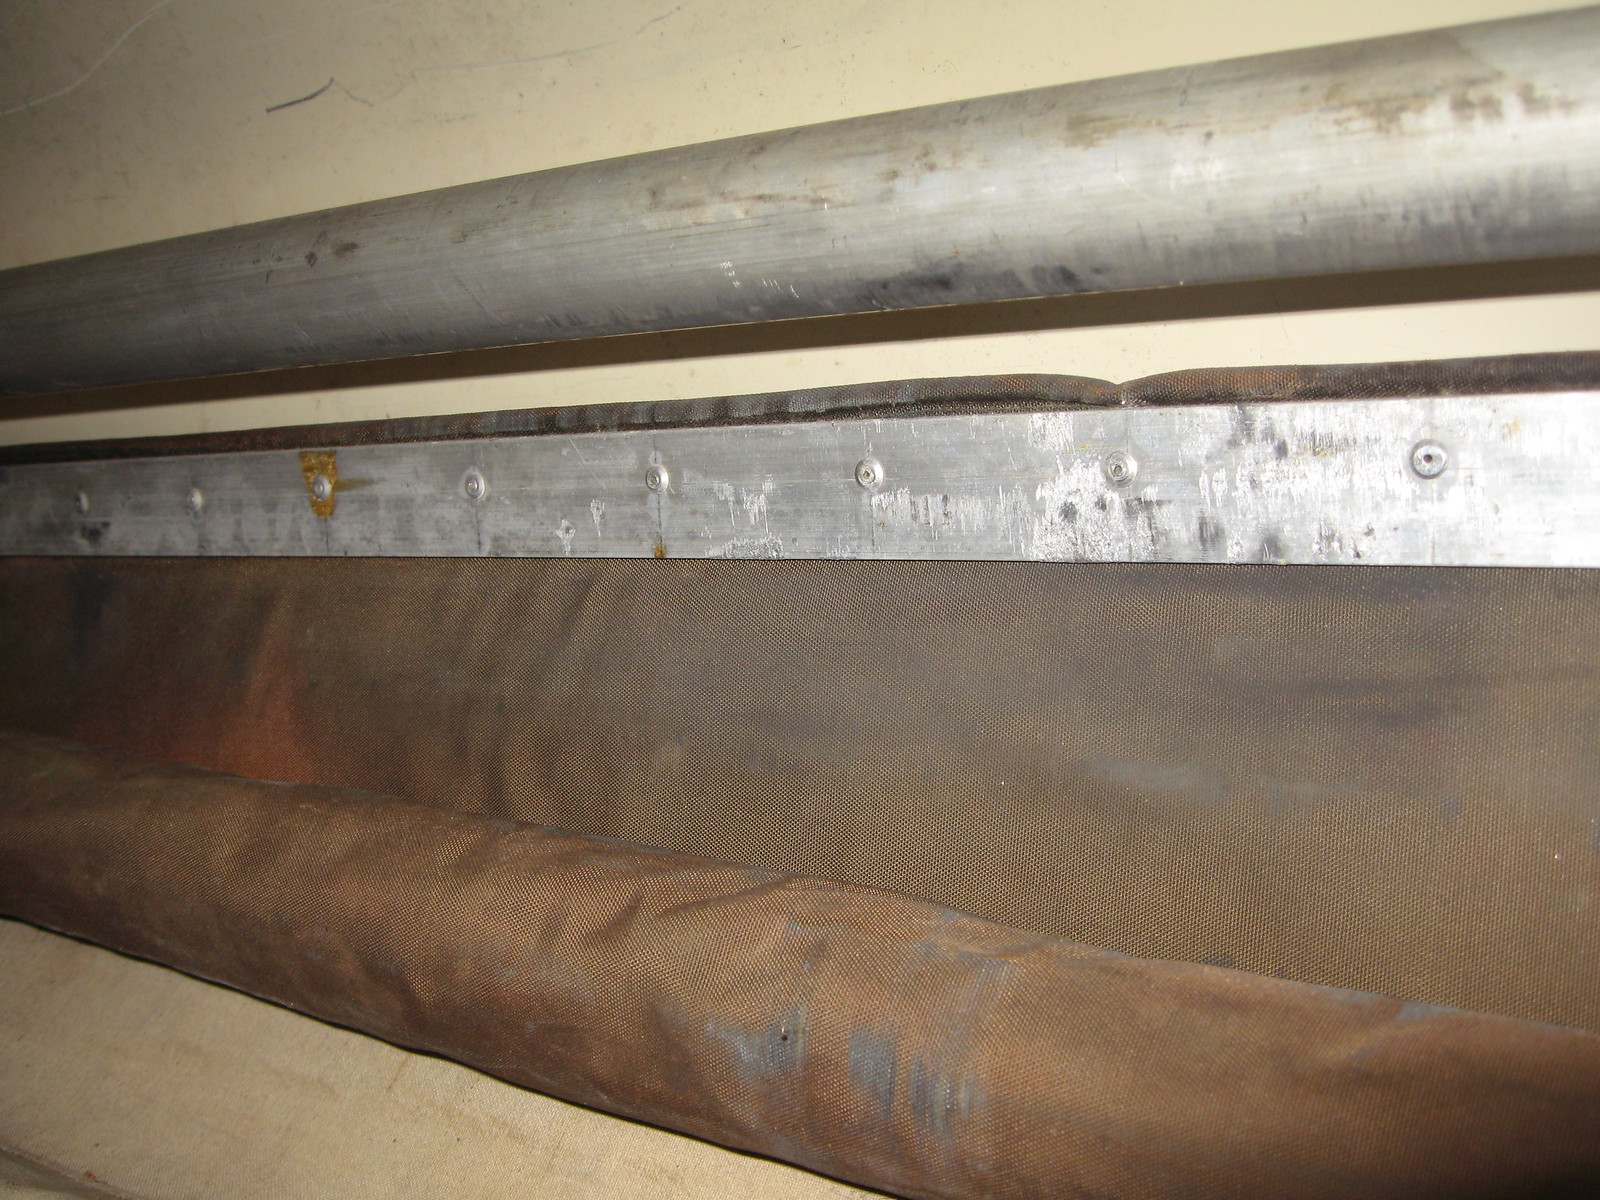
With the metal strip pulled away, you can see the order in which the fabric parts are fitted - vinyl 'paraphernalia pockets' before canvas roof beds:

The beds will come out at this point. I found they remained stuck to the metal strips, and left them that way for storage:

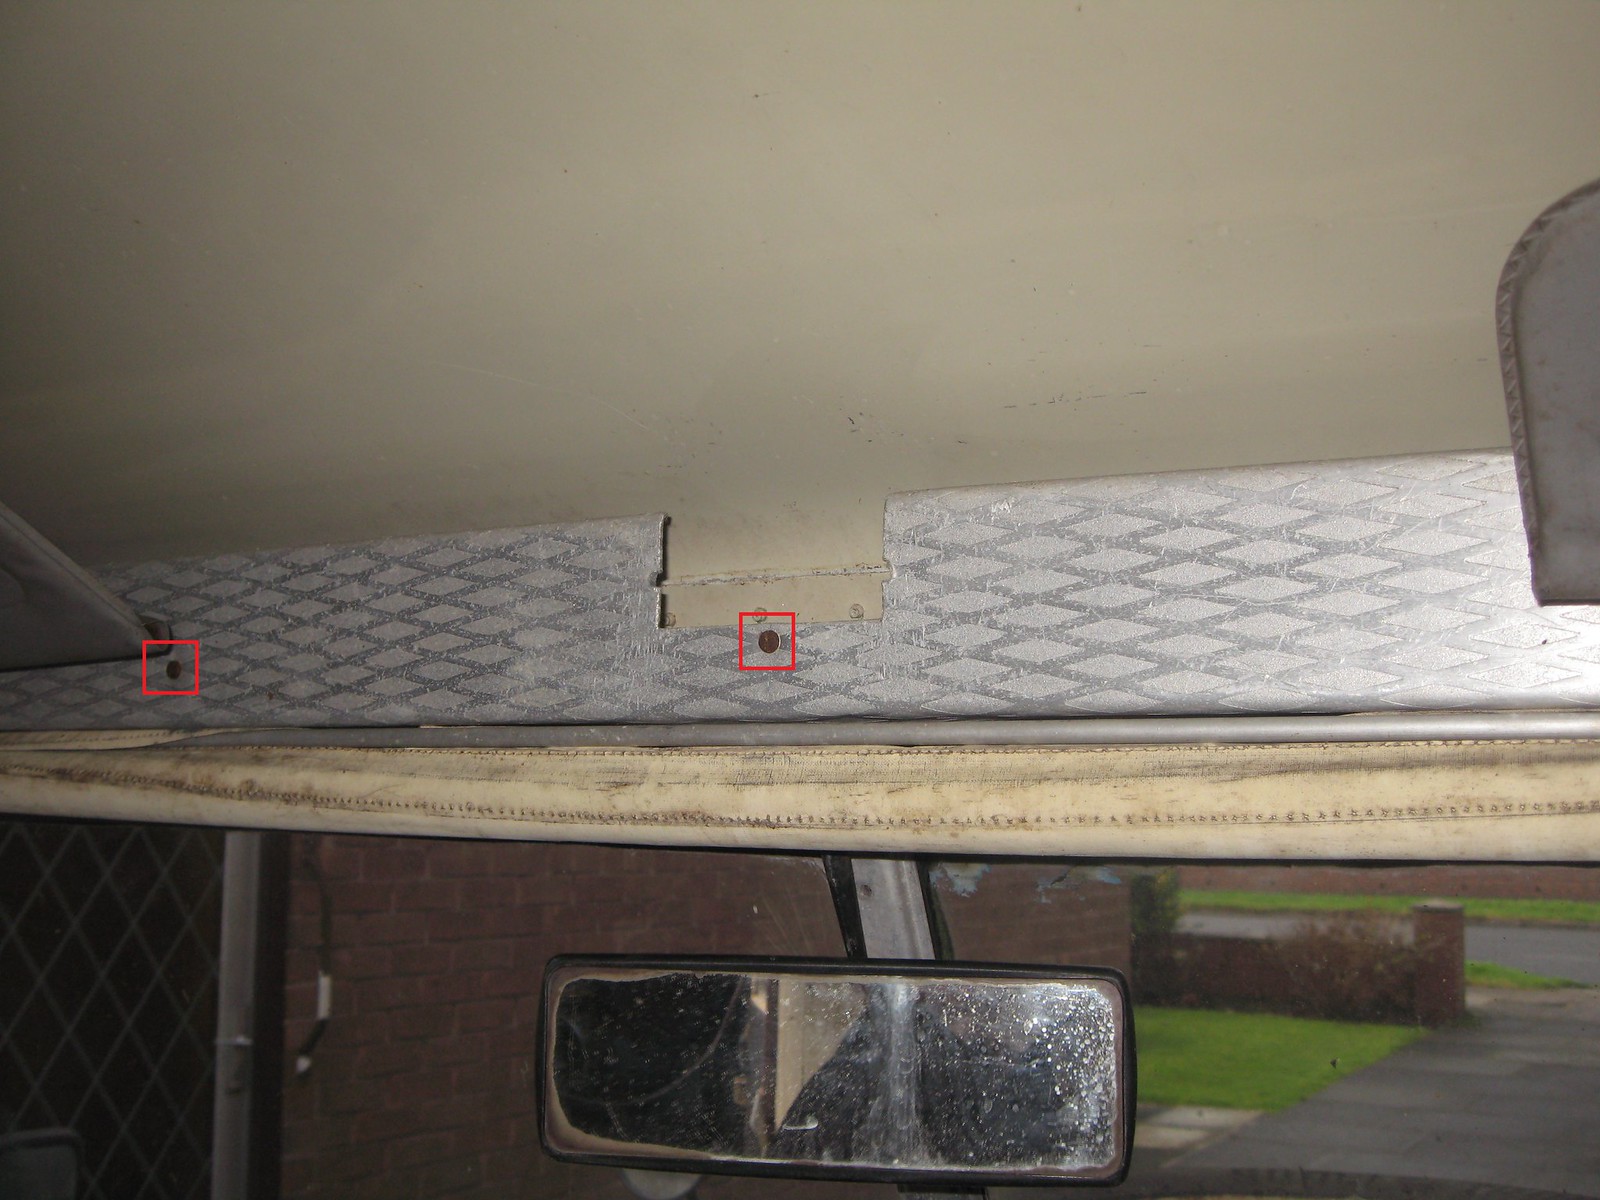
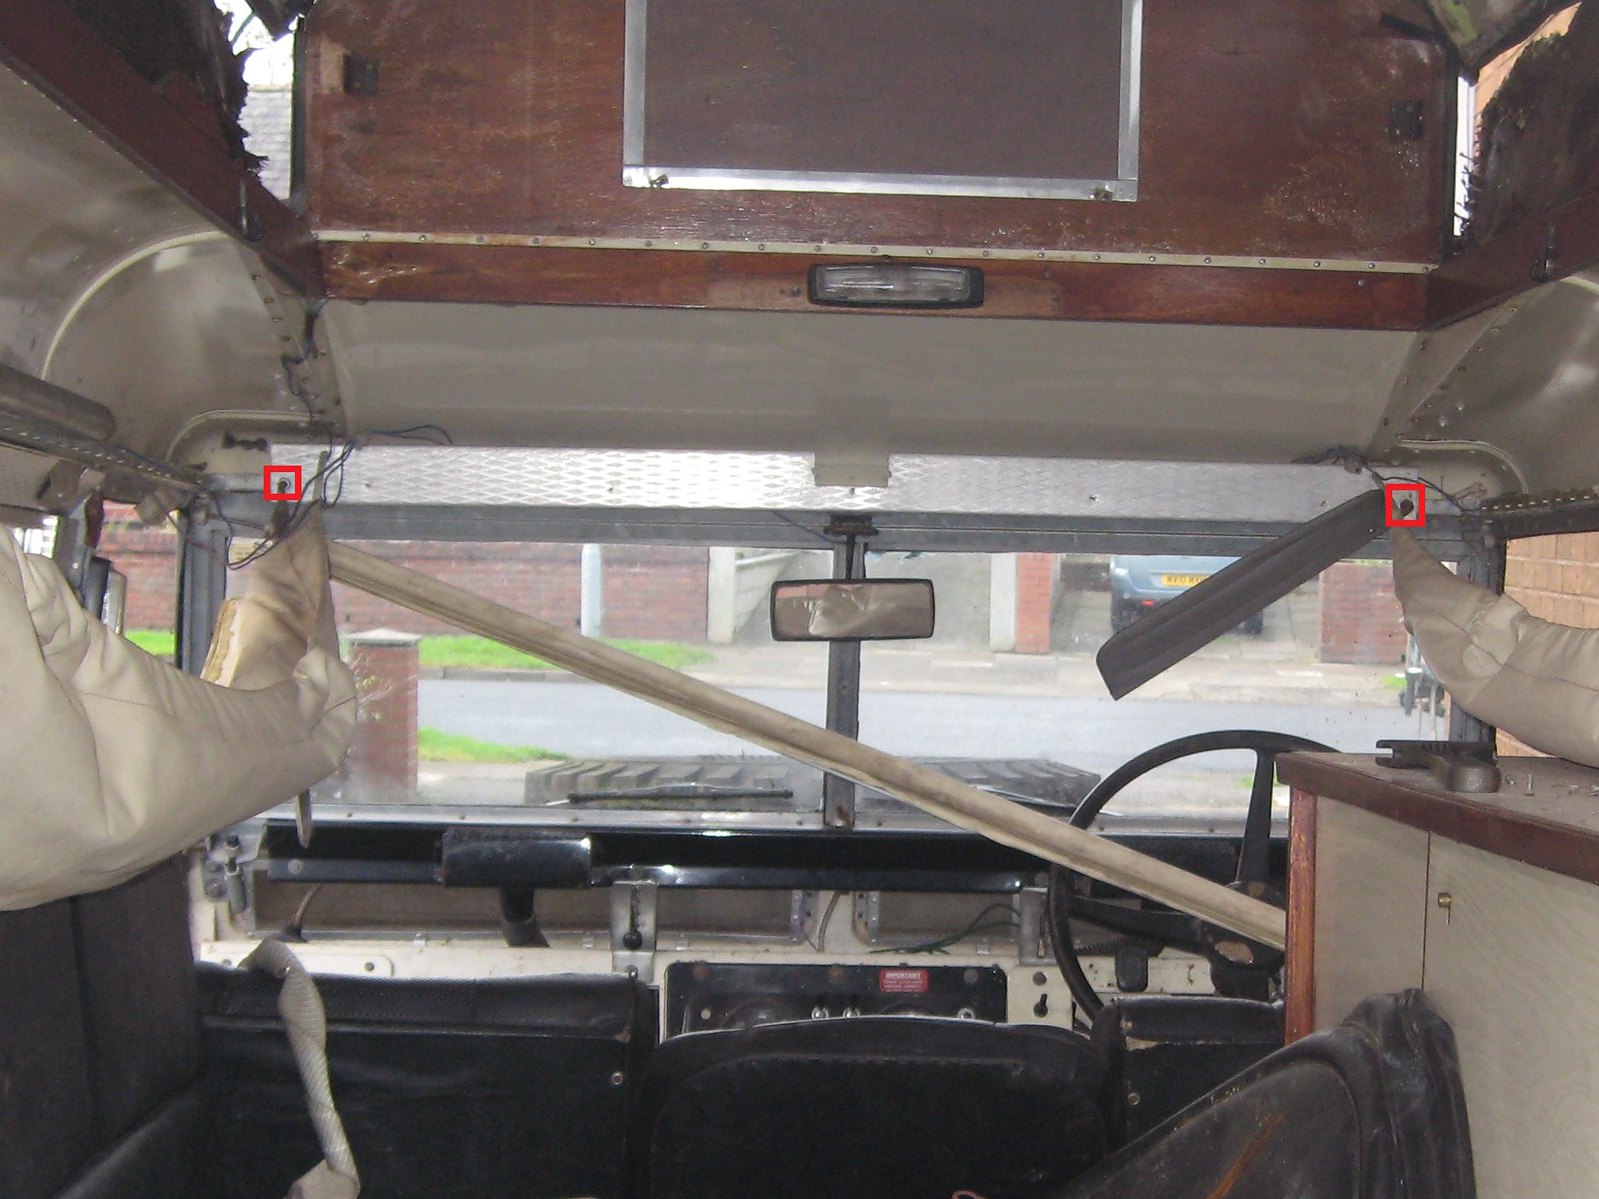
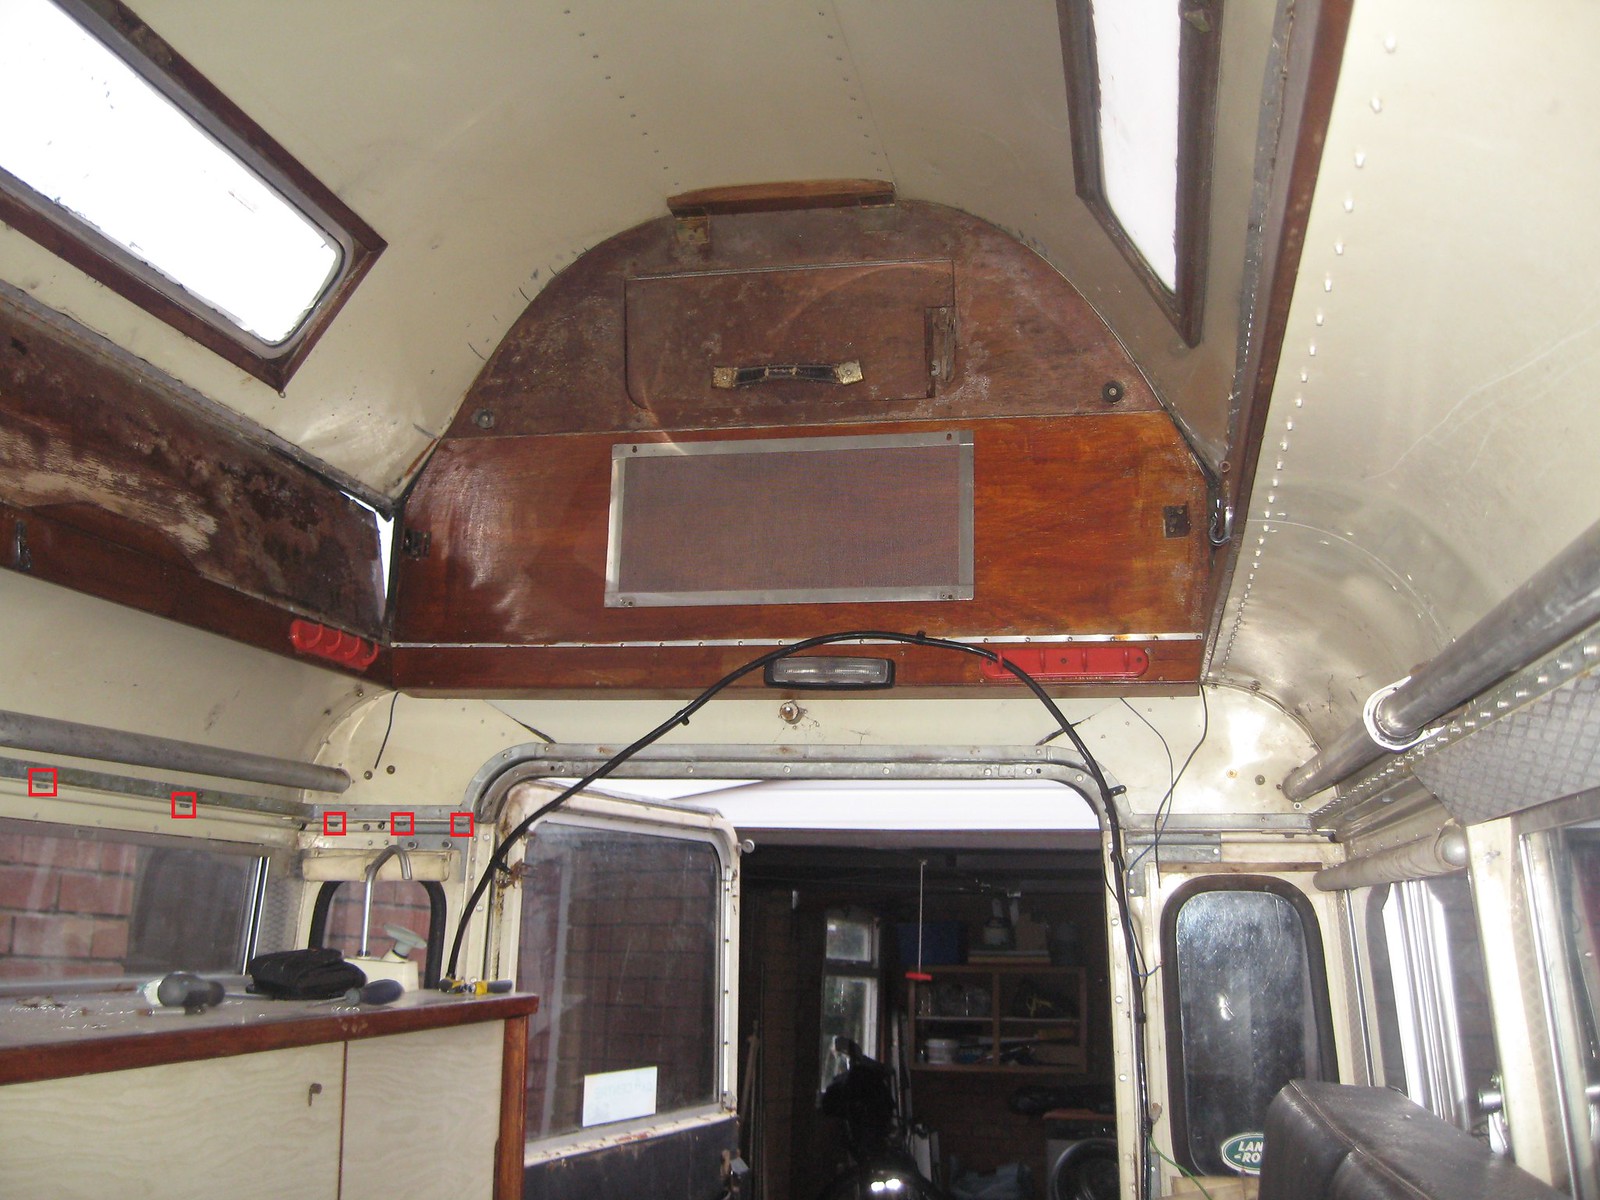
The 'paraphernalia pocket' bungee cords run through a hole in trim pieces at each end of the roof, behind which they are retained by a knot. Removing the first of these trim pieces, above the windscreen, requires the extraction of the screws highlighted below, of which there are five:
If you have an original type blind fitted above the windscreen, this is best removed to prevent damage. This is done by extracting two screws each from the brackets at either end:

Where sun visors are fitted, these will also need to be removed before the trim piece will come away. They have a single nut each, accessible at the back within the internal steel 'gutter:'
The trim retaining the 'paraphernalia pockets' at the rear is of a thin MDF-type material. Due to the fairly chaotic aftermarket electrics fitted in this instance, I can't reliably point out which fixings are original. Its removal should be fairly self-explanatory, however:

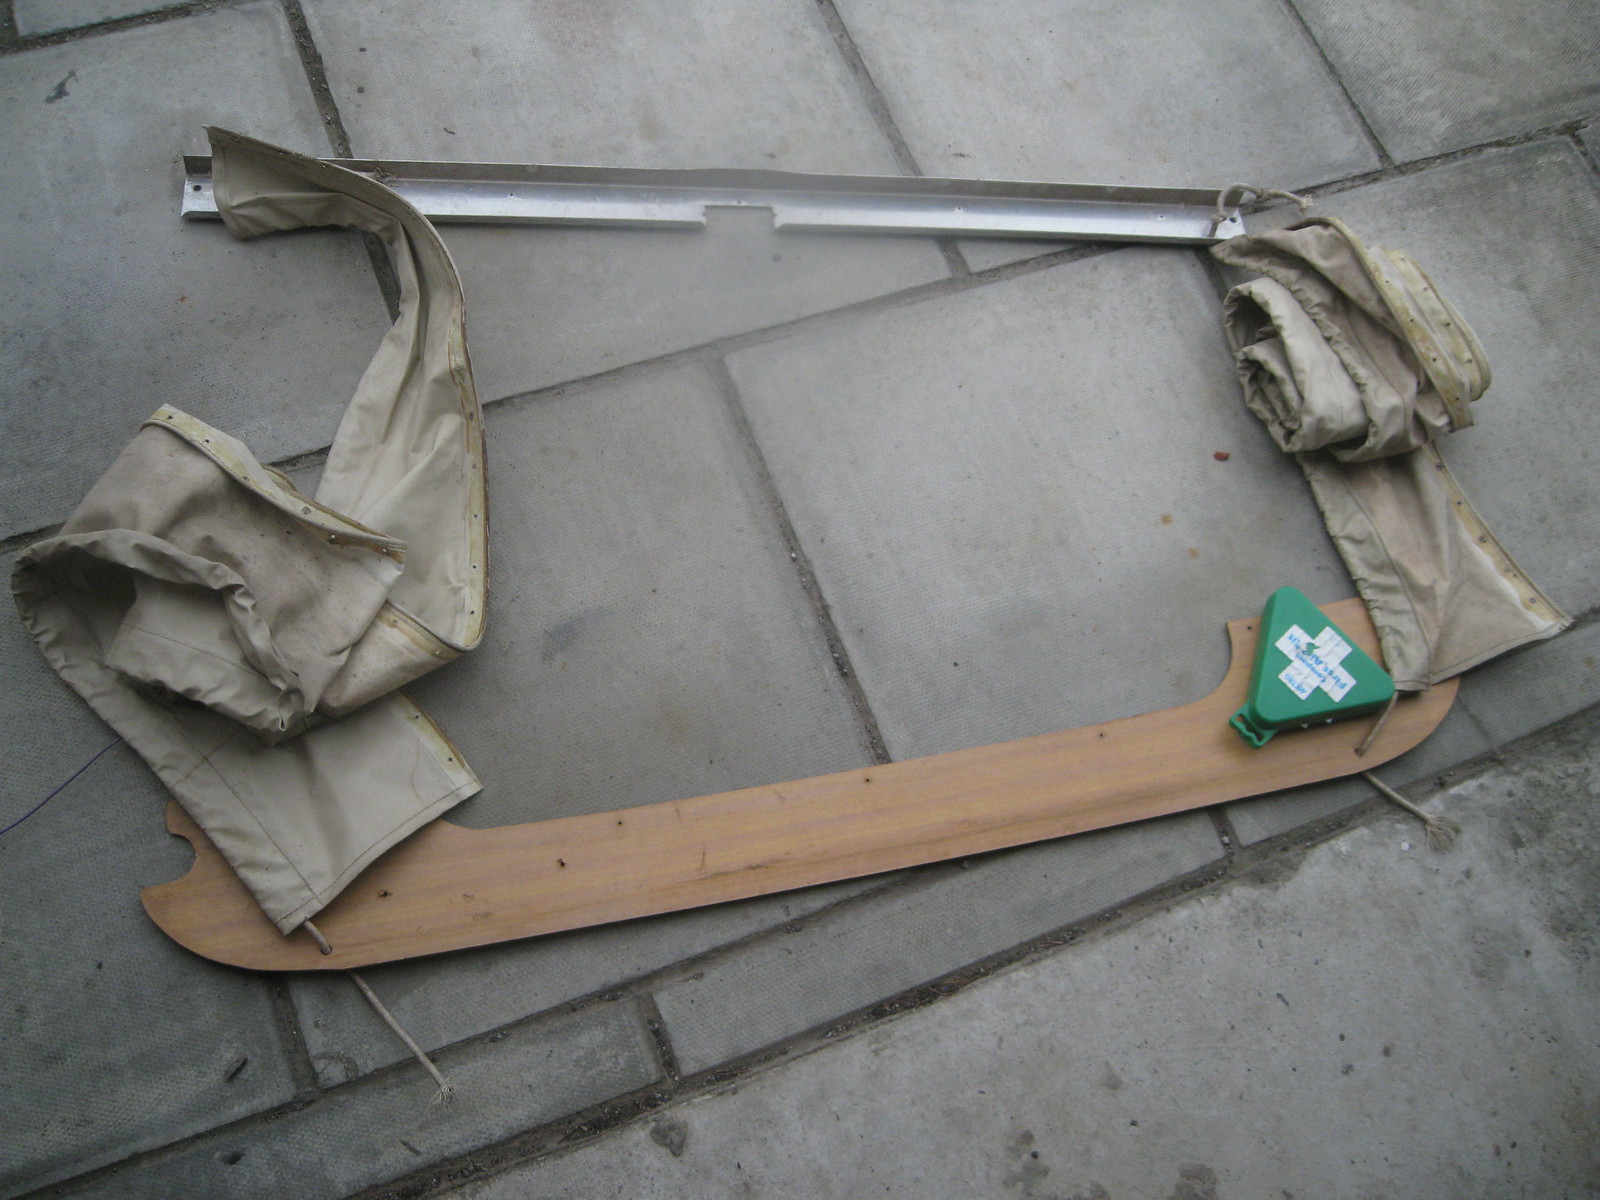
The 'paraphernalia pockets' can now be removed complete, still attached to the trim pieces at either end:
Though not strictly necessary, I chose to remove the side window blinds to avoid risking damage. As with the windscreen blind, these have two screws per bracket at each end:
Now for the side trim pieces, above the windows. These are retained by the same fixing rivets as the top window channel/frame, which require drilling out. I used a 5 mm bit for this, though a narrower one may have bene more suitable:

With the first of these side trim pieces removed, you can see the holes where the rivets have been drilled out:
Access to the standard roof bolts is now clear most of the way round, with only the front two side window trim pieces remaining in place:
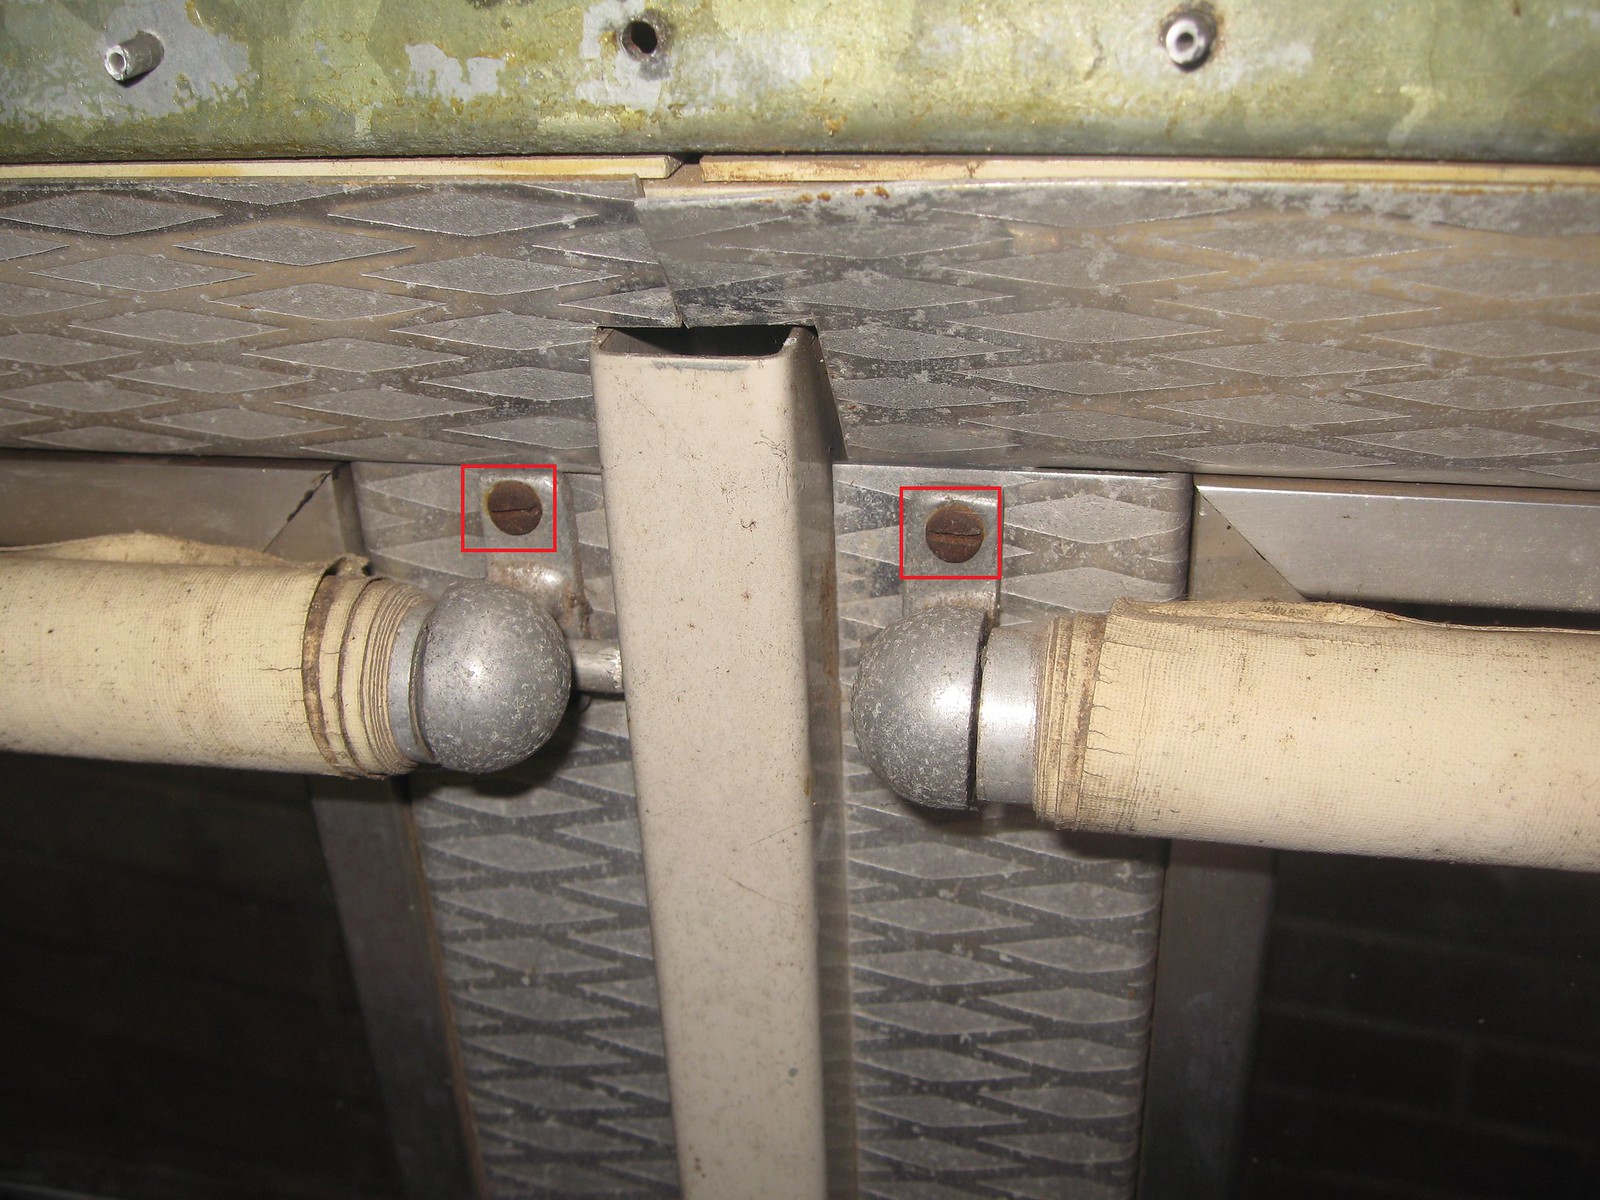
On this vehicle, the remaining two trim pieces could not be fully freed until these seat belt brackets were removed from either side:

Those came out after the removal of two bolts each, in the roof 'gutter.'

With the last trim pieces out, all the roof bolts can be accessed, and it's just like removing the roof from any other Series Land-Rover. Just make sure you've disconnected any wiring for interior lighting etc. before lifting it off. The main difference versus a standard roof at this point is weight; I'd suggest three or four people if moving one any great distance:

There it all is squeezed into storage:
That's about that, then. Hopefully this will be a useful guide for someone, or otherwise at least of some general interest. The precise procedure will vary between vehicles, of course, depending on specifics of interior fittings; electrics etc., but they should all follow the same rough pattern. Feel free to suggest any errors or omissions I may have made - it's been a number of years since I actually did the job, after all!
Phil